Notifications
Choose who needs to get notified when and how.

Contents
Relax! You are automatically notified
We wanted to make Semonto as user-friendly as possible. So even if you don’t touch any alert settings, you will automatically be notified by mail whenever something happens to your site or server. You only need to edit the settings or create notification groups if you want to change or add notifications, which is something our advanced users will enjoy.
The default notification settings
When you create your account, default notification settings will be created for you. You will receive notification by email and push notification if you use our app. You can configure these notification settings to your needs. We have many options: email, push notifications, voice calls, Slack messages, Teams messages, SMS text messages and webhooks. These notification settings will be applied to all your monitors.
Optional: create a new notification group
Alternatively, you can also create an additional notification group by clicking “Add notification”. You will be directed to a new screen in which you can make the necessary selections. This can be useful in a number of ways. Here are some suggestions:
Notifications for each feature
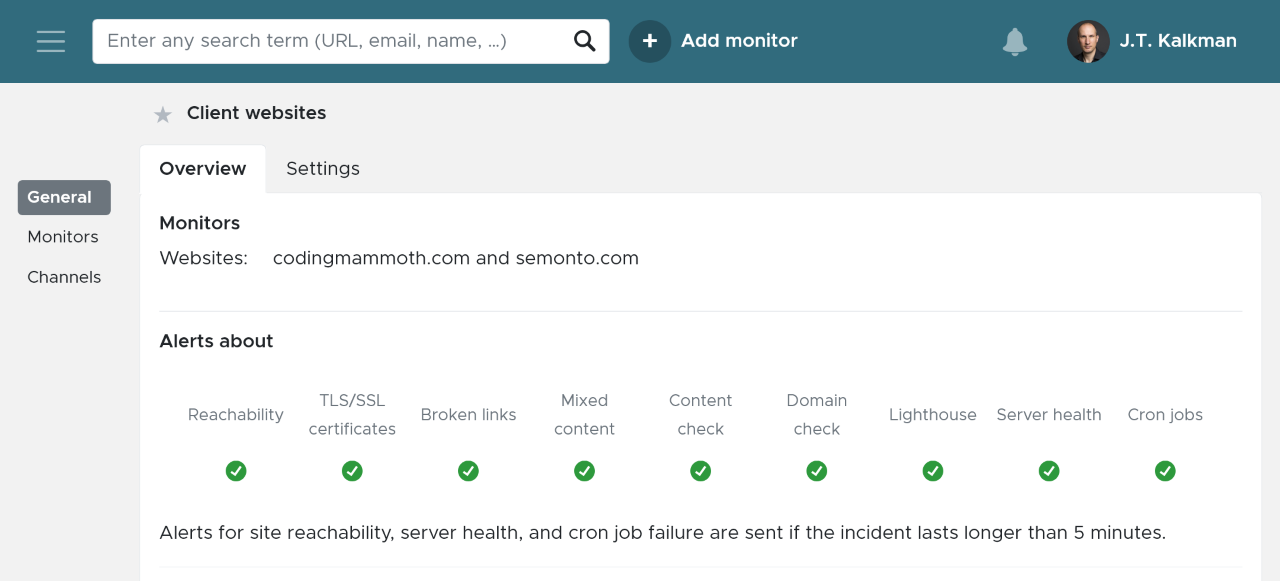
"Notifications specific for websites, server health or cron jobs. Website notifications can be further fine grained for:"
- Reachability issues,
- SSL Certificate issues,
- Broken links and mixed content check results,
- content check and domain issues.
Notifications per project
If you are working on an app together with 4 colleagues, you can create a notification group specifically for this project so that all team members receive a message when this app goes offline. Add the app in the Monitors section, then specify who should be notified and how in the rest of the settings.
Notifications per priority
You can create a notification group for high-priority monitors and a separate one for low-priority monitors so that you get alerted differently for important issues.
Whatever you can think of
You can organize your monitors and notifications any way you want.
How to create a new notification group
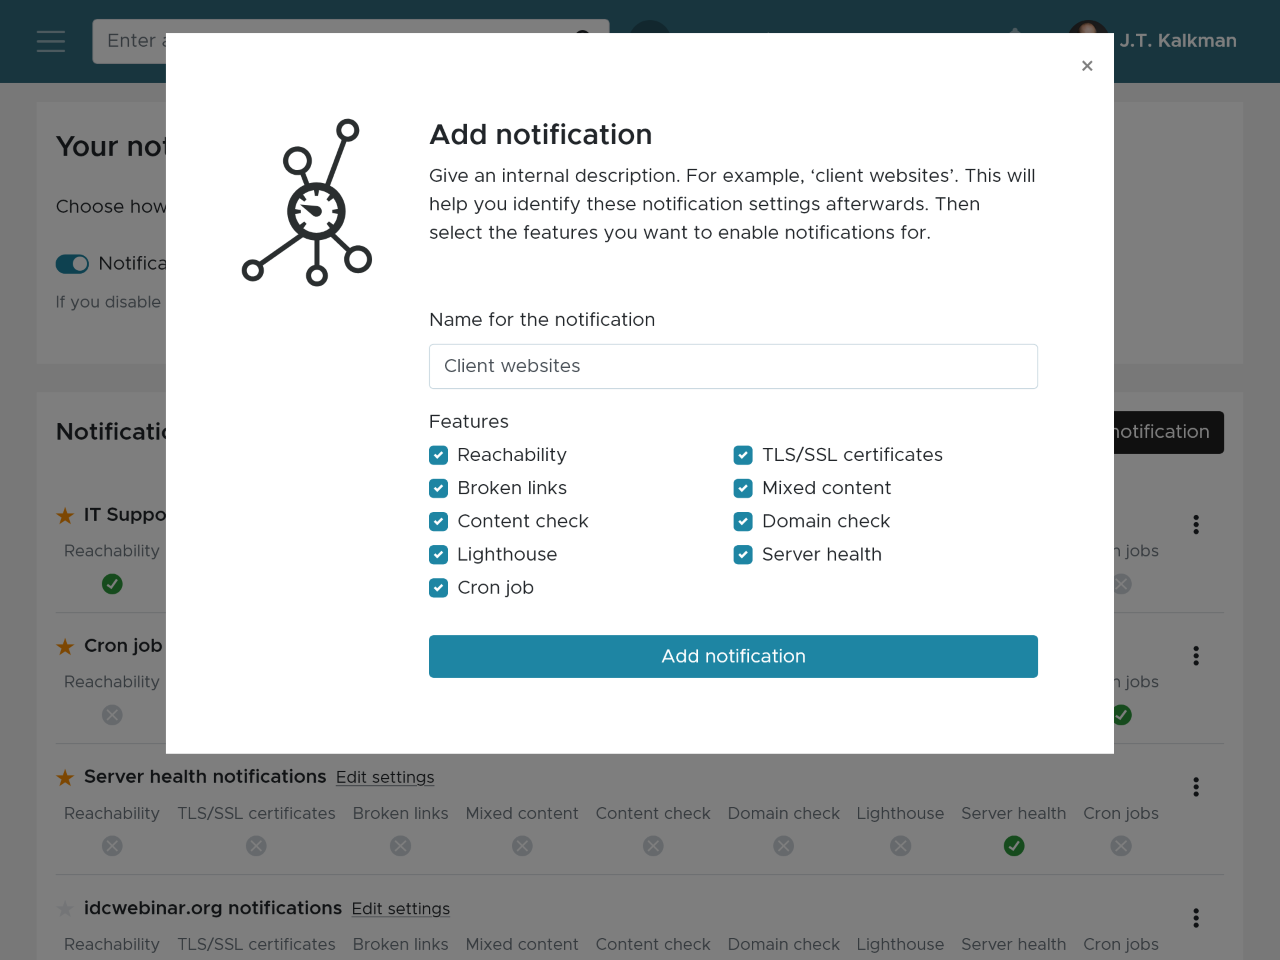
1. Create a notification group
- Go to “Notifications” in the main menu and select “Add notification”.
- Select the features you want to enable these notifications for:
2. Link the monitors
In the Monitors tab, select the websites, servers or cron jobs you want to receive notifications about.
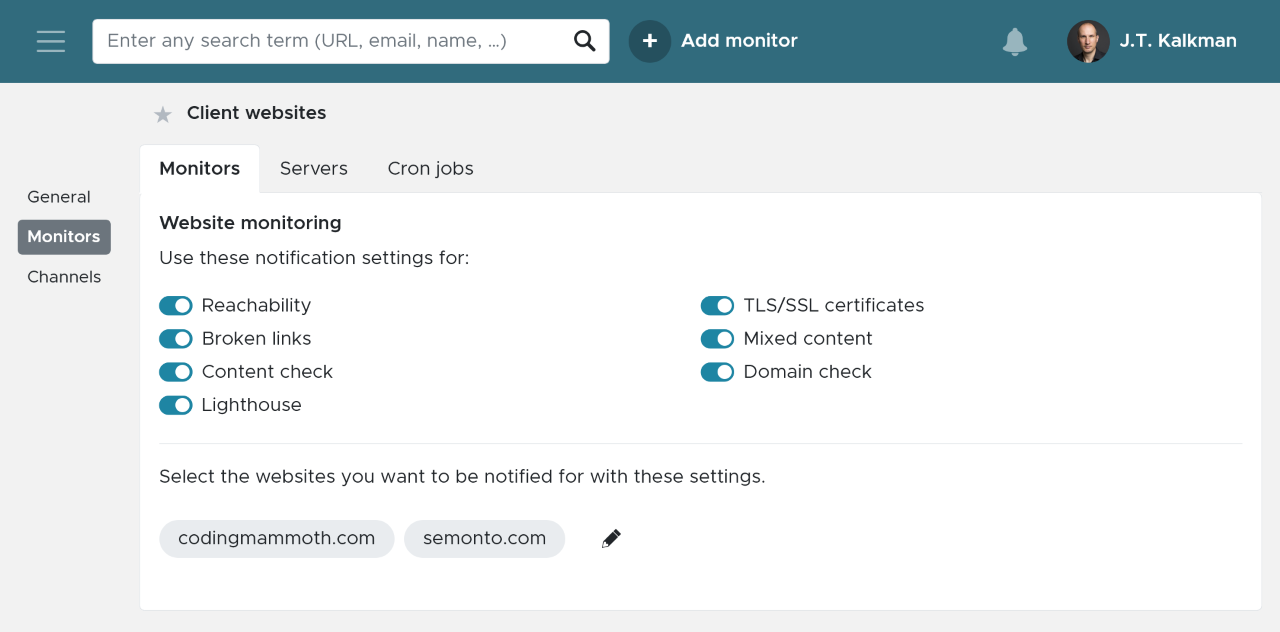
3. Check the features
You will also see a list of the tests you will be notified about. The ones that are enabled are indicated with a green checkbox. Click on any test to add or remove it.
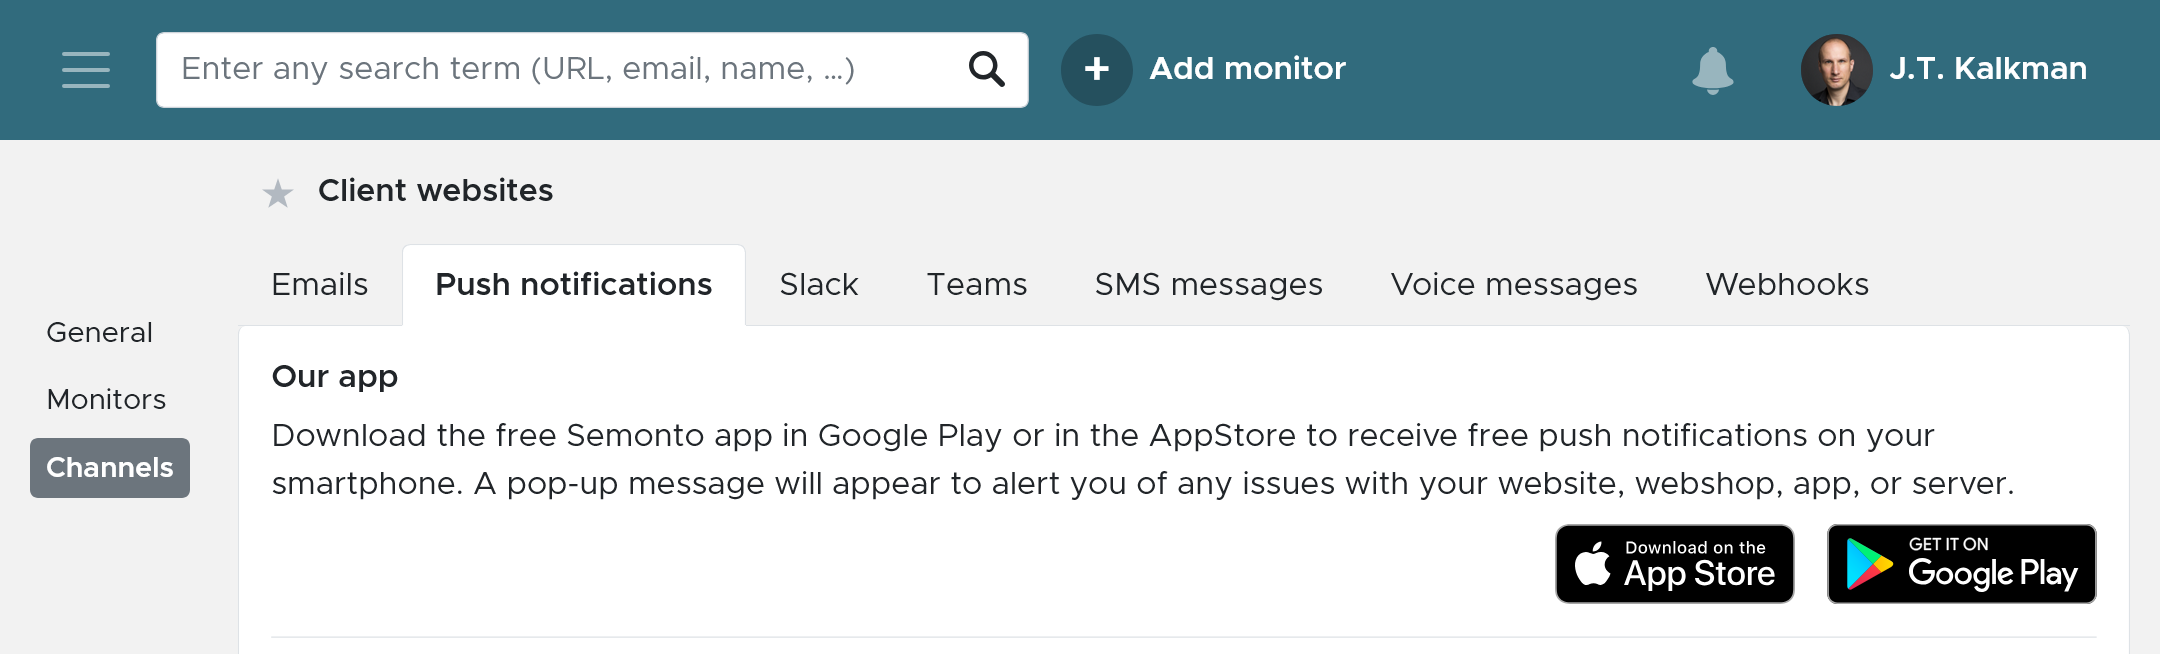
4. Select the channels
In the menu on the left side, you get an overview of all the channels through which you can be notified: Emails, push notifications, Slack, Teams, SMS text messages, voice messages, or webhooks. Click on a channel to enable it and optimise the settings.
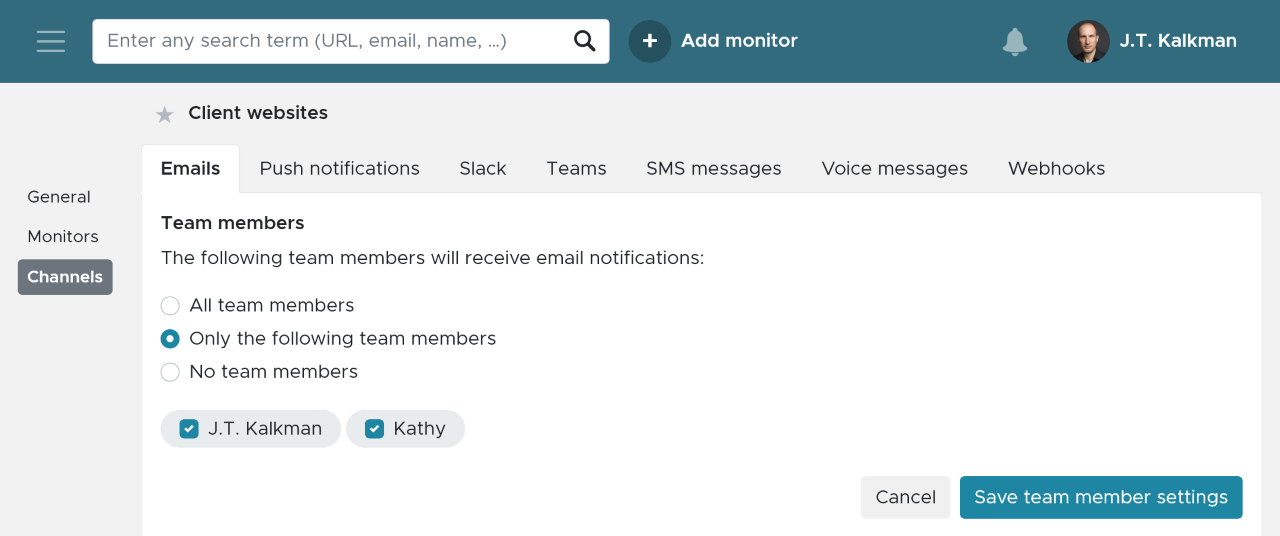
5. Add team members
For each channel, you can decide who in your team should receive notifications. Read more about team member settings in our help pages about Managing Team Members.
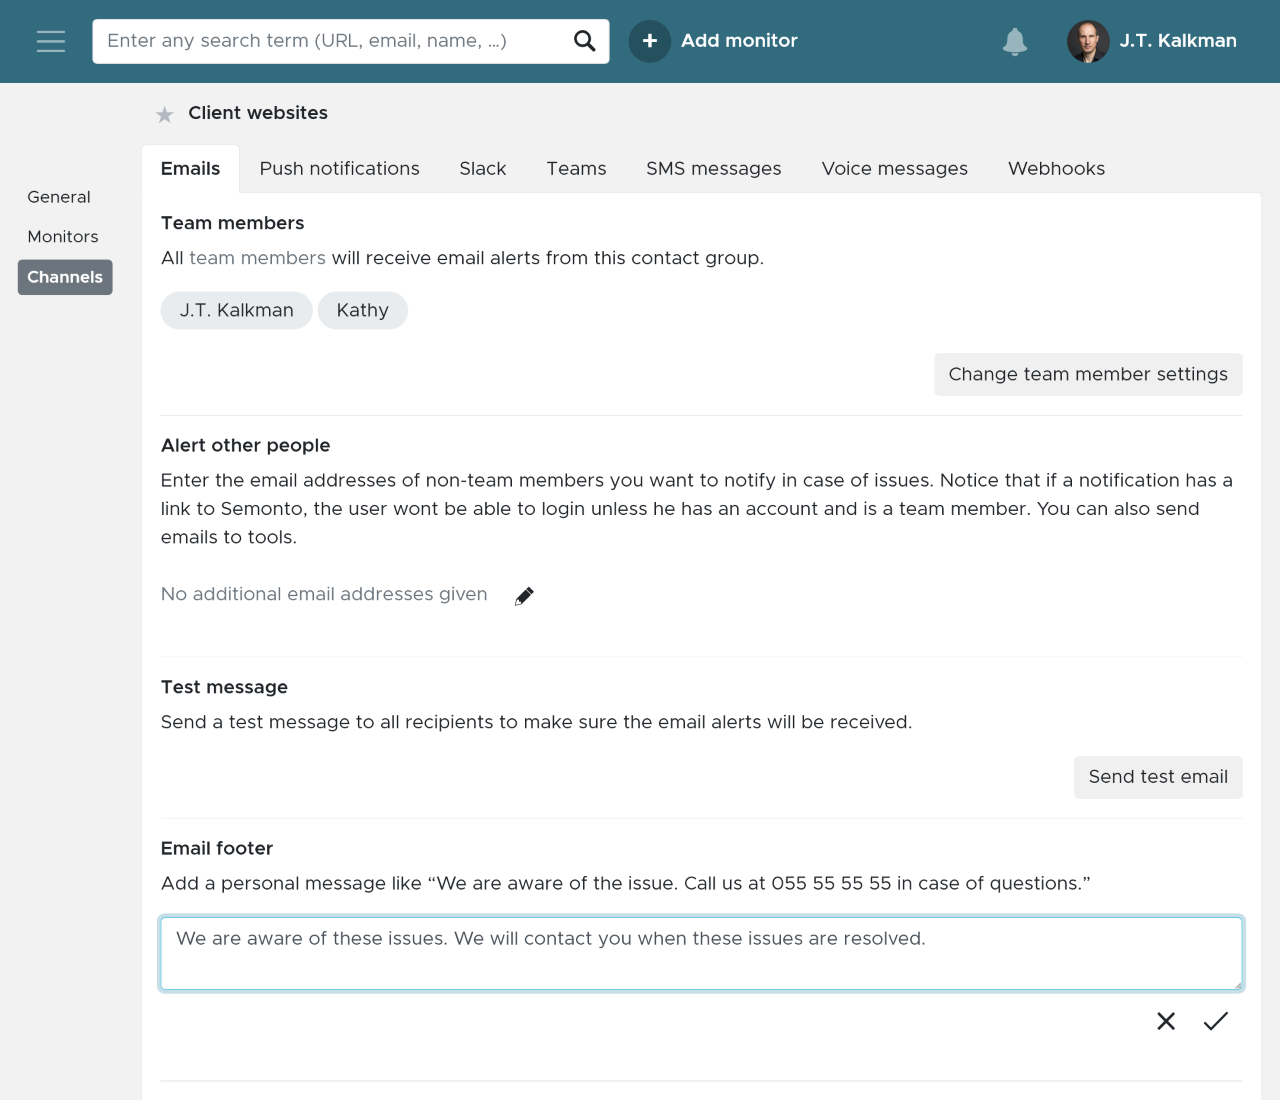
You can also alert non-team members
Sometimes you want to alert someone who is not part of your team, for example: a supplier or client. These people can be added in the section: “Alert other people”. Note: these people will receive the notification, but do not have access to your Semonto account to retrieve more details about the incident. If you want to give them access to that information, you have to add them as a team member.
How to change the current notification settings
If you want to change how you are notified for a certain monitor, go to Notifications in Semonto and select the test for which you want to edit the current notification settings. Here is an overview of what you can adjust:
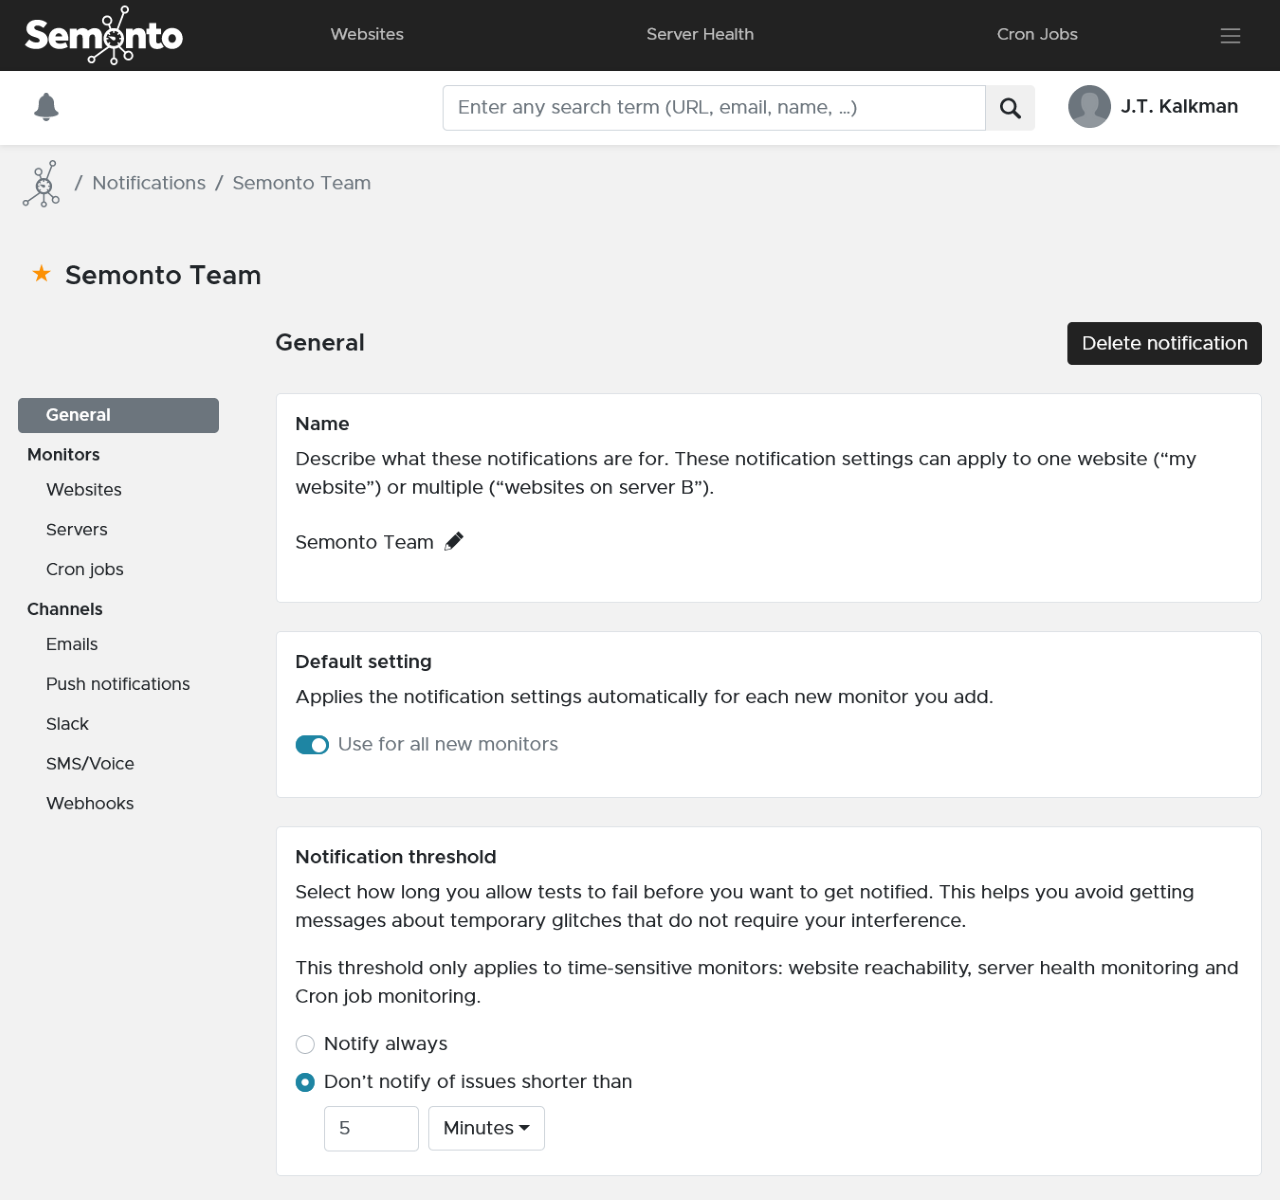
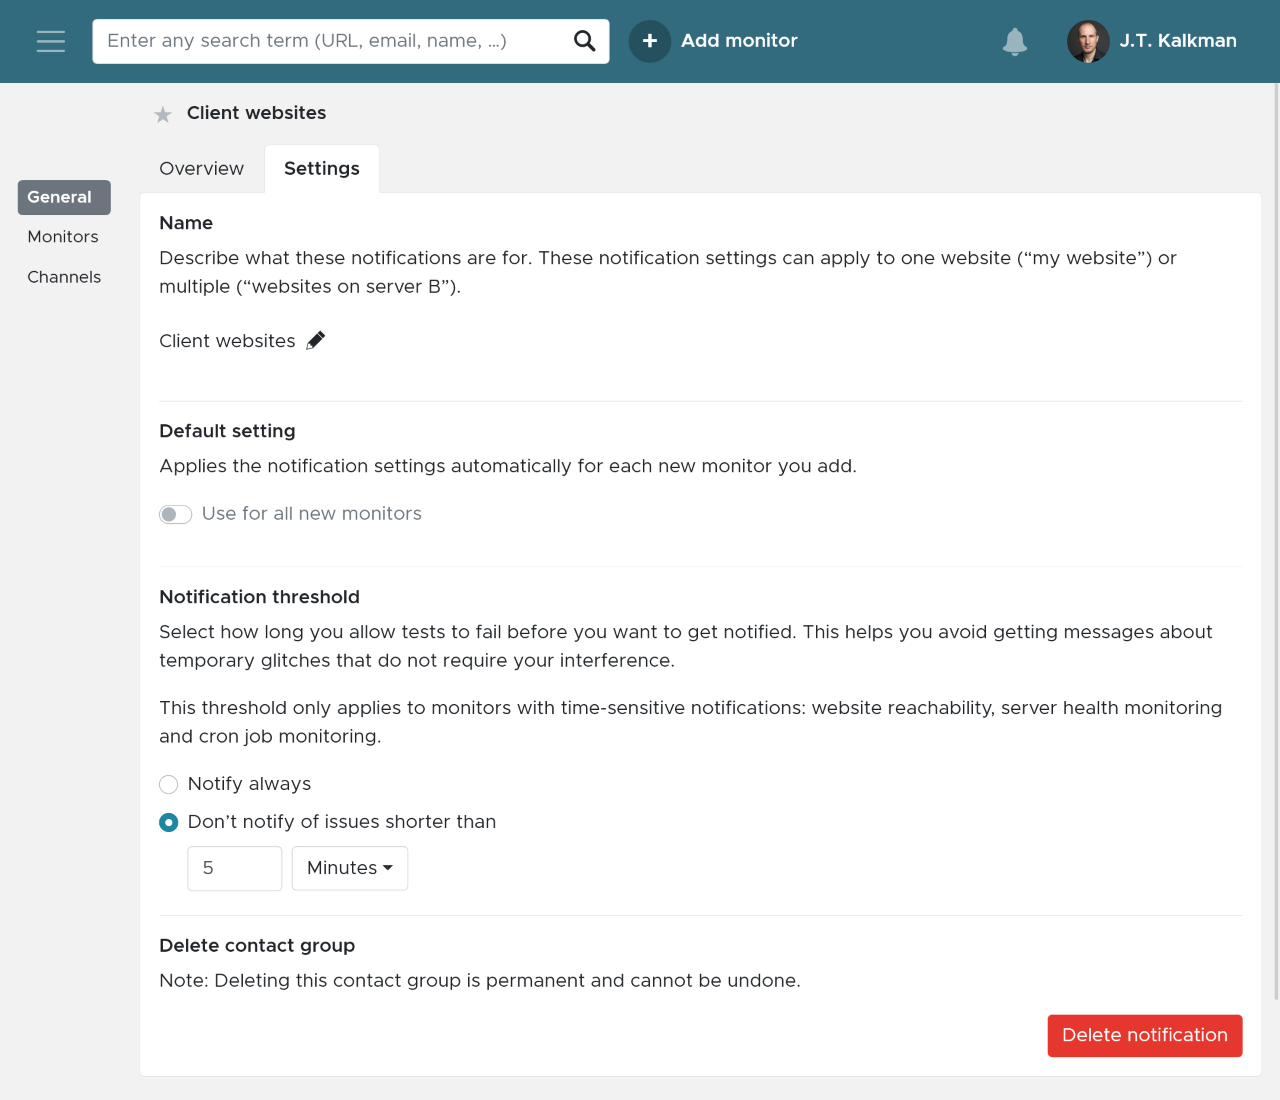
General notification settings
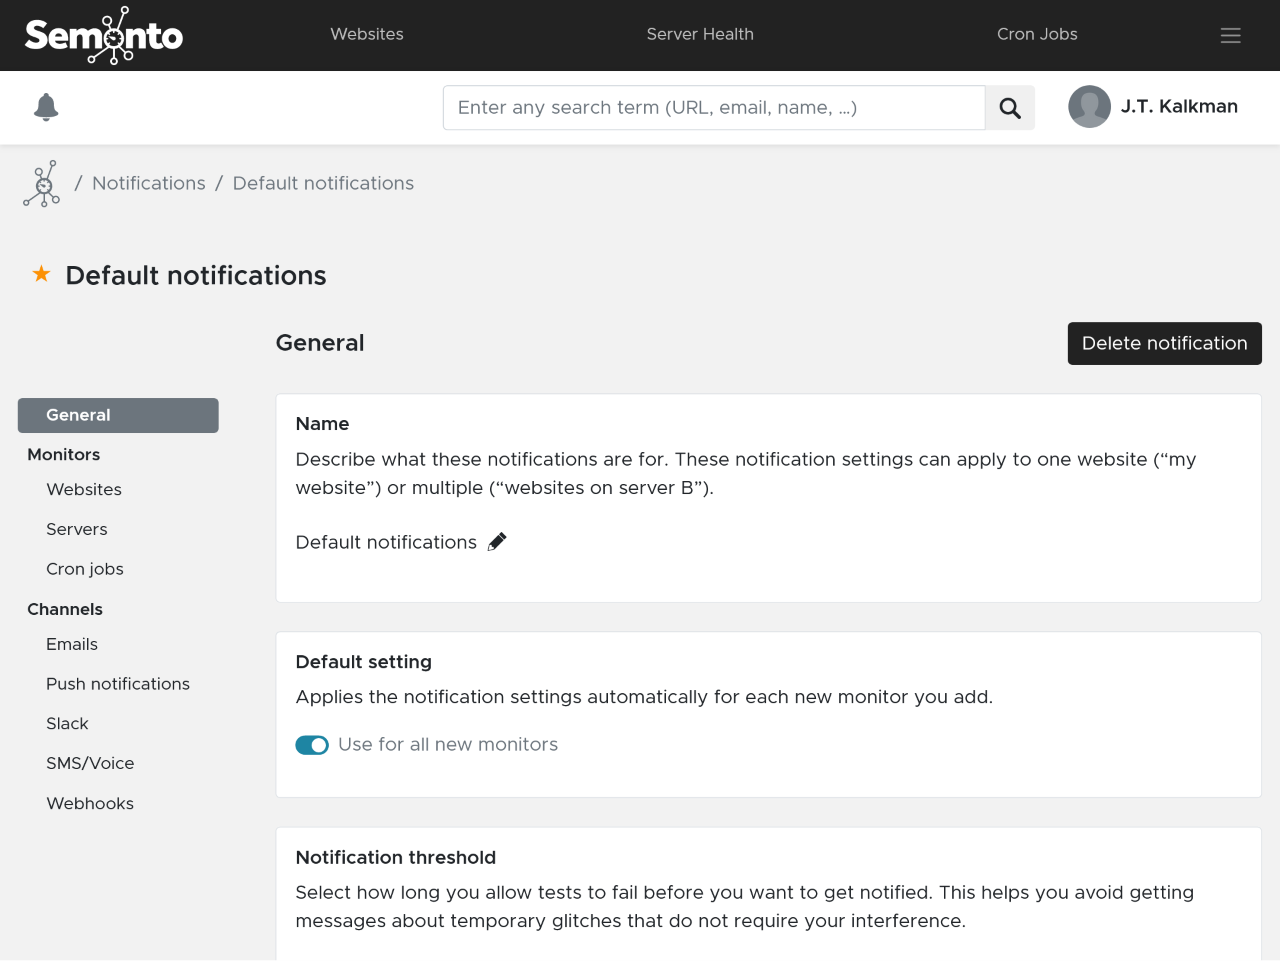
In the General section, you can change the following settings:
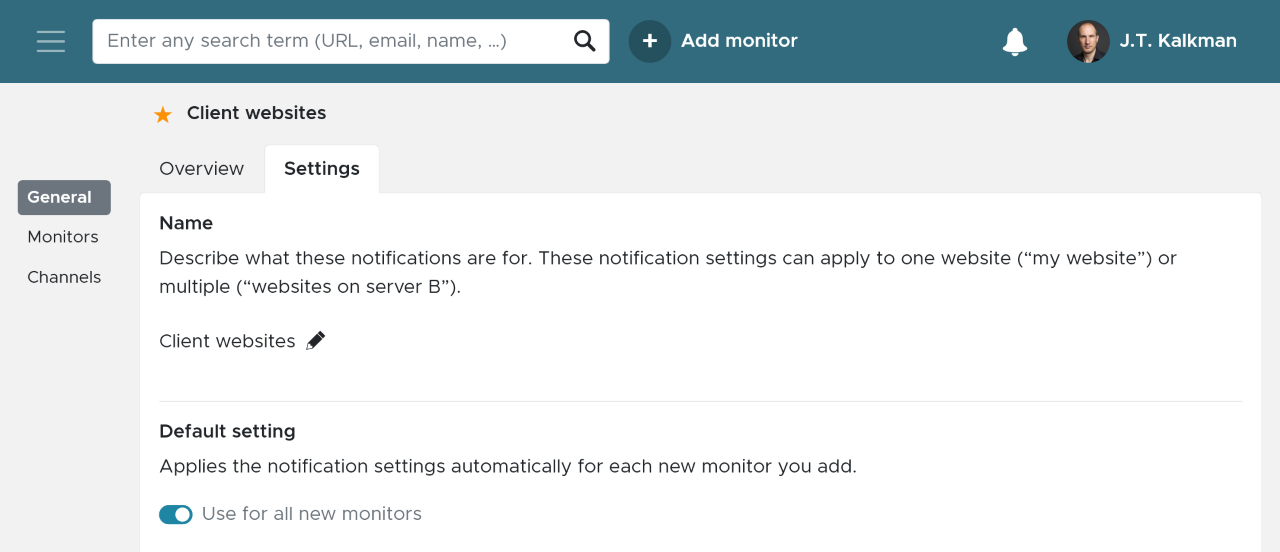
- Name: describe what these notifications are for. For example, “my website” or “websites on server B”.
- Default: Decide whether the notification settings automatically apply for each new website you add.
- The Notification Threshold lets you choose how long a test can fail before triggering an alert, helping you avoid notifications about temporary glitches. This setting applies to Reachability, Server Health, and Cron Job Monitoring tests. By default, the threshold is set to 5 minutes, meaning Semonto will notify you only if an issue lasts longer than that. Shorter incidents are still tracked and included in reports but won’t trigger alerts. You can change this setting to get notifications for any incident if wanted.
The notification channels
For each test, select the way you want to get notified. You can activate more than one notification method per group.
Just enter the e-mail address of the person(s) who need to get notified.
This is what a notification email looks like:
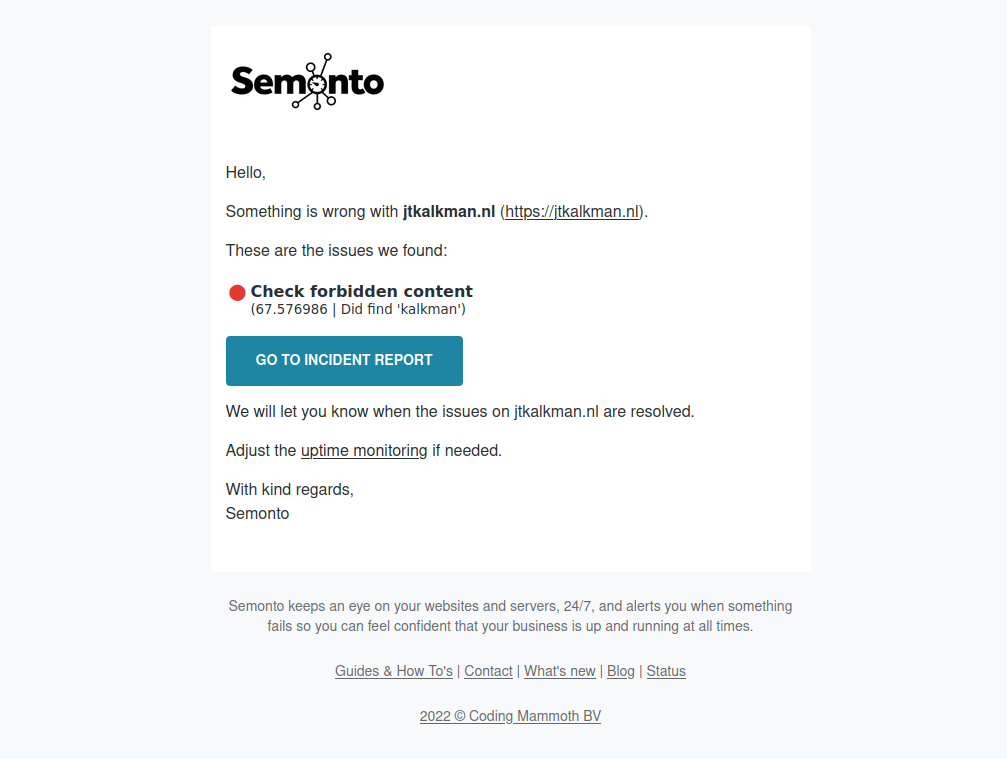
You can also add a personal message that will be included in the footer of the notification email.
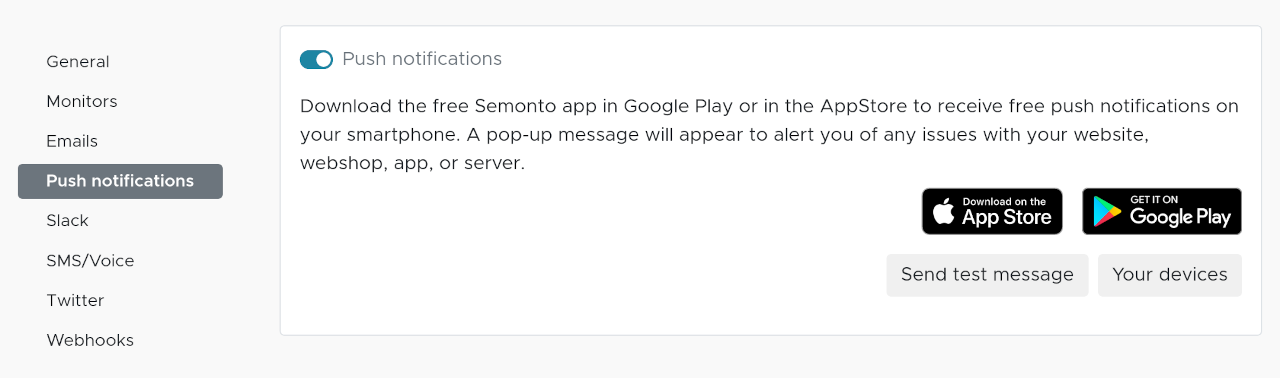
Push notification
If you have installed the Semonto app on your smartphone, you can enable push notifications to receive notifications straight on your phone.
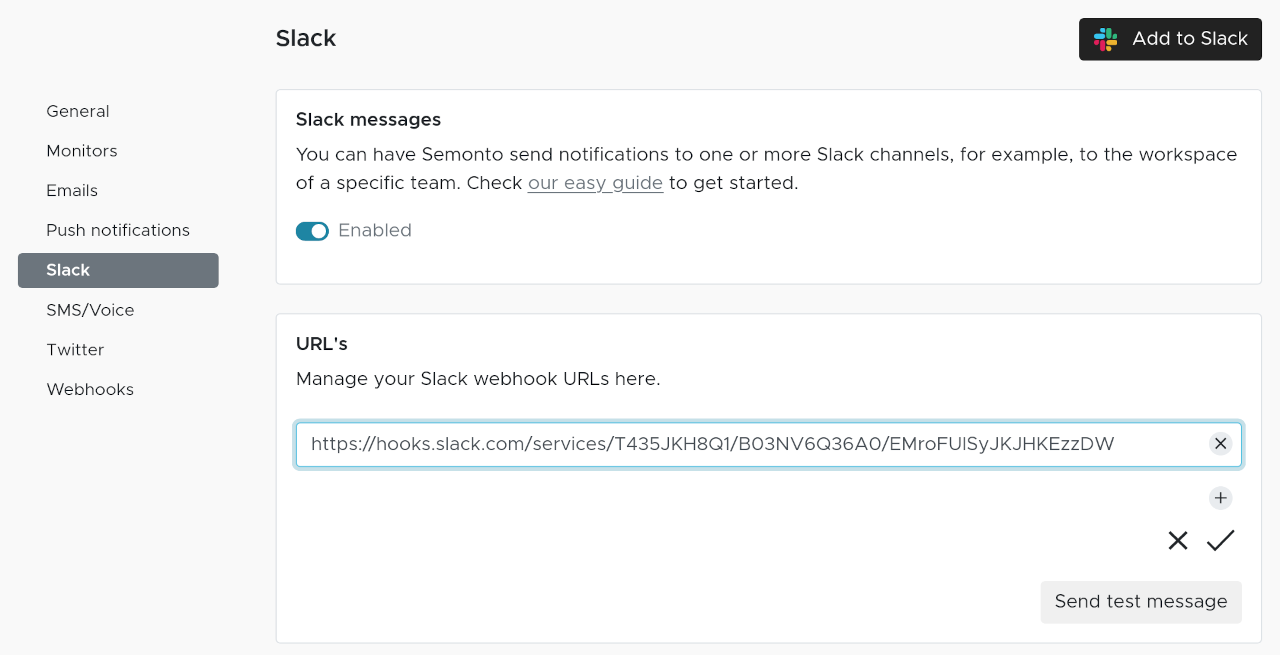
Slack notifications
You can also receive Semonto notifications straight in your favourite Slack channel. Send notifications to multiple Slack channels or even multiple Slack accounts and organize your workspace the way you like it. Check our easy guide to get started.
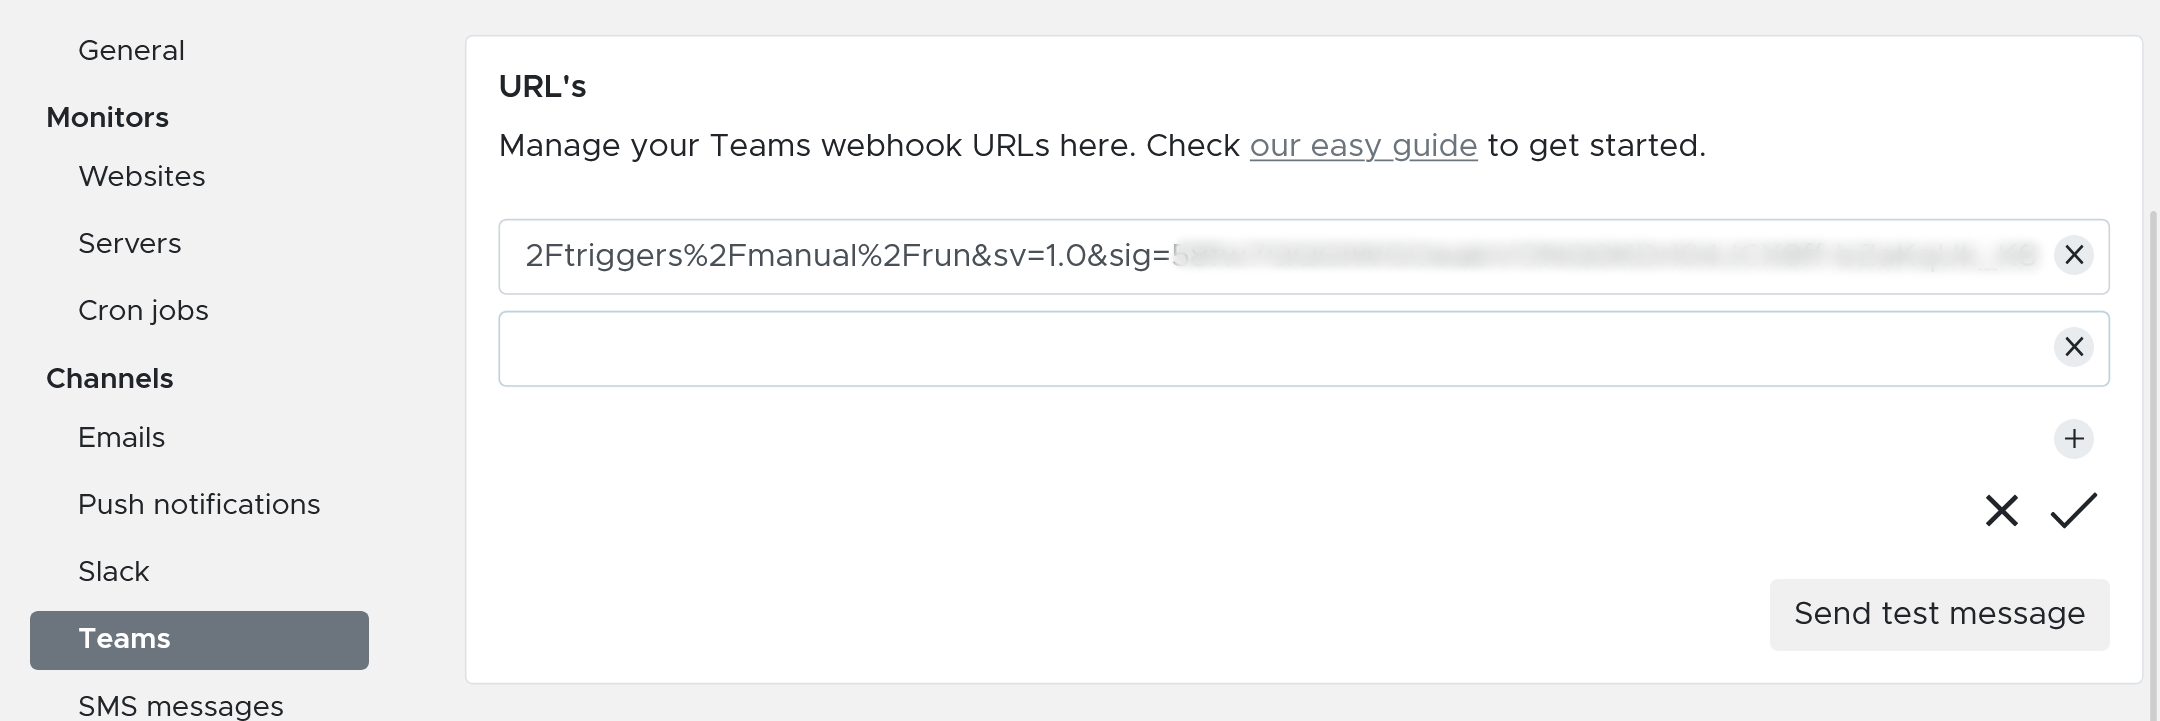
Microsoft Teams notifications
If your company uses the Microsoft Teams chat feature, you can have Teams and Semonto work together to receive messages in a group chat or channel. Learn more
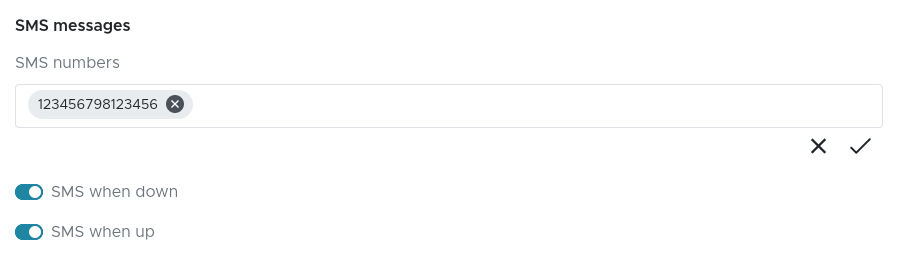
SMS
If you want to receive an SMS when something goes wrong, enter your mobile phone number. You can add more than one number. In order to receive SMS-messages, you need to purchase credits. Go to Your SMSes in the main navigation menu to purchase credits.
Voice Message
We can also notify you by calling your phone and leaving an automated voice message. This is especially interesting for crucial services of which you want to be notified immediately wherever you are. Just enter your phone number and enable voice messages to activate this service. Credits are required. You can buy them in the SMS tab in the main navigation.
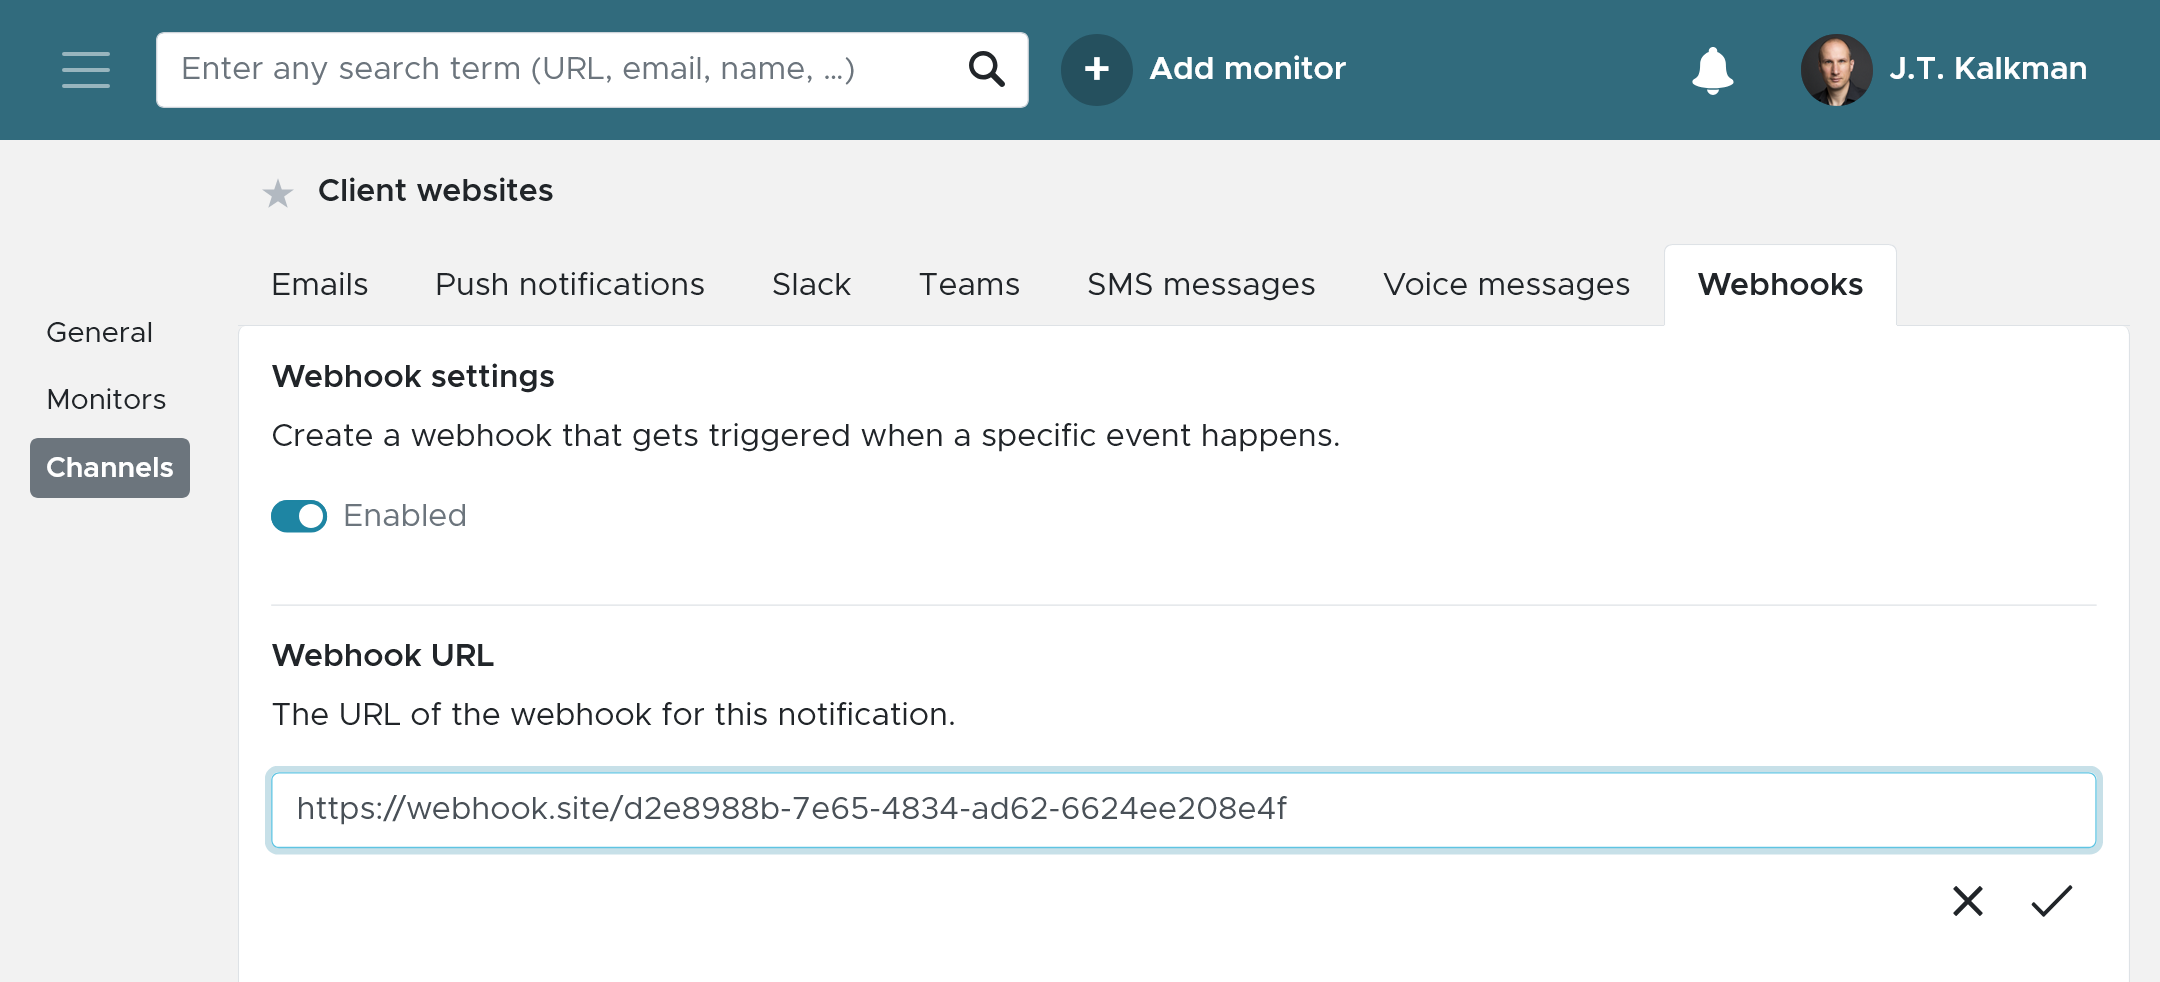
Webhooks
You can also create webhooks that are triggered when a specific event happens. This allows you to execute exactly the task you want like custom notifications.
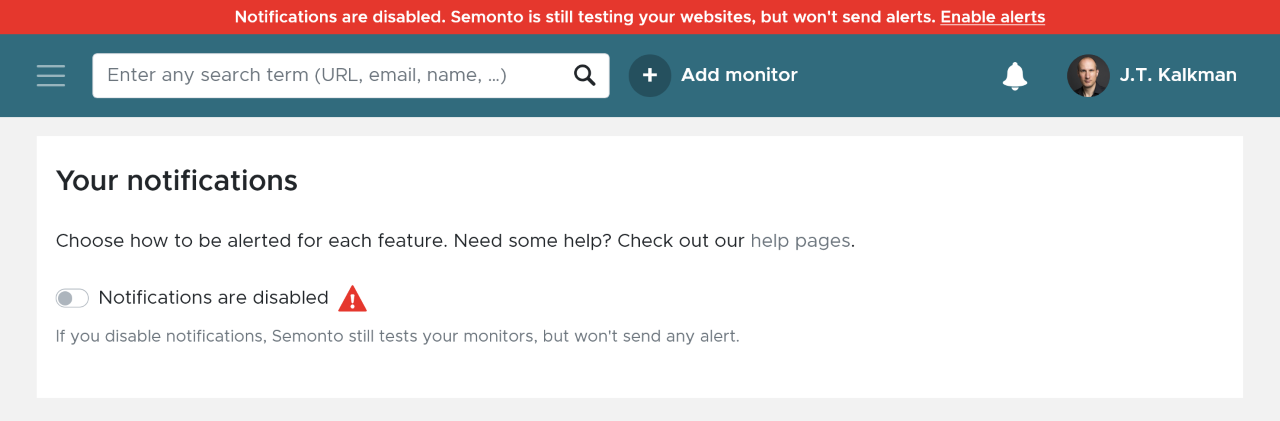
Want to pause notifications?
You can temporarily pause your notifications to avoid getting flooded with downtime messages during planned maintenance. To pause notifications, use the switch on top of the Notifications page. If you disable notifications, Semonto will still test your monitors, but won't send any alert.
How to set notifications as default
If you want to reuse notification settings, you can mark your preferred notification settings as default. The settings will then automatically be applied when you create a new website, server of cron job monitor. When you are creating or editing your notification settings, you will see a switch at the top of the page called “Use for all new monitors”. Activate the switch to mark your notification settings as default.