Using Status Pages
Find out how you can use Status Pages to keep your clients informed.
Contents
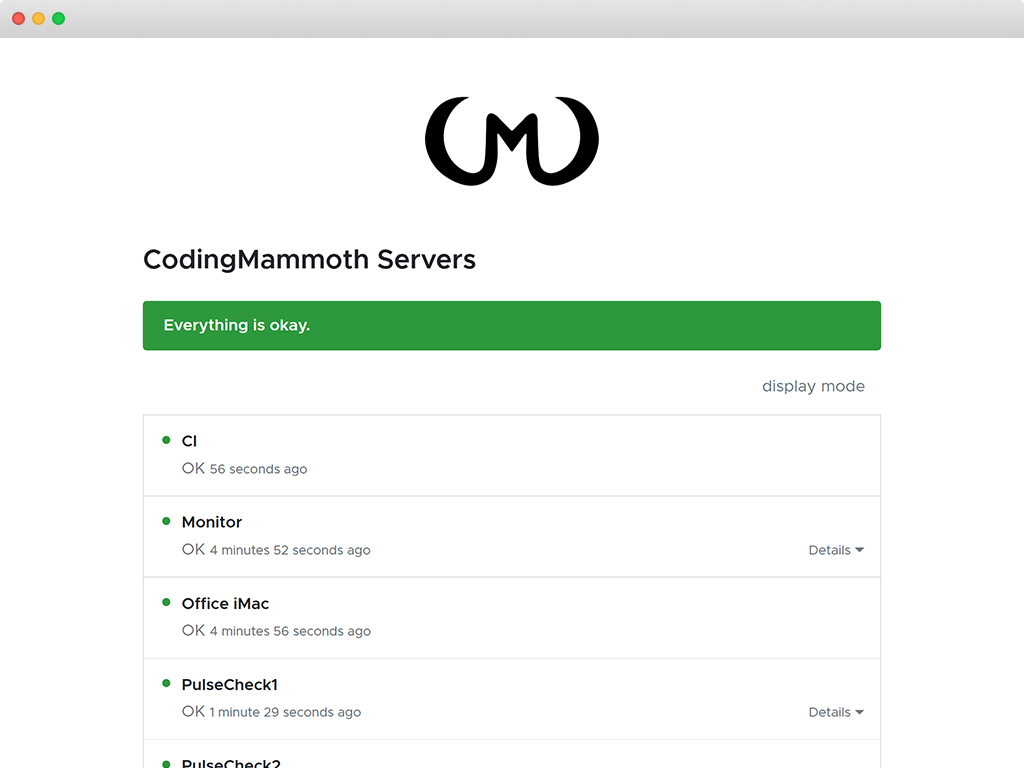
Semonto’s Status Pages provide you with an easy way to keep your customers and partners informed when something bad is happening with your online services and can prevent a flooded mailbox with the same questions all over. You can focus on resolving the issues instead.
Creating a Status Page
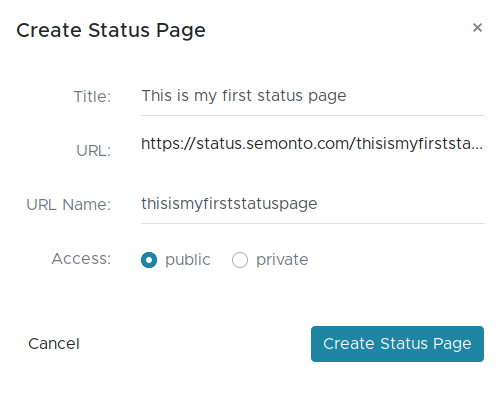
Creating a Status Page with Semonto is really easy. Just go to the Status Page tab in Semonto and click the create button. Then you can provide a title and a matching URL will be generated. If this URL is already taken, Semonto will warn you. You can adjust the URL if needed.
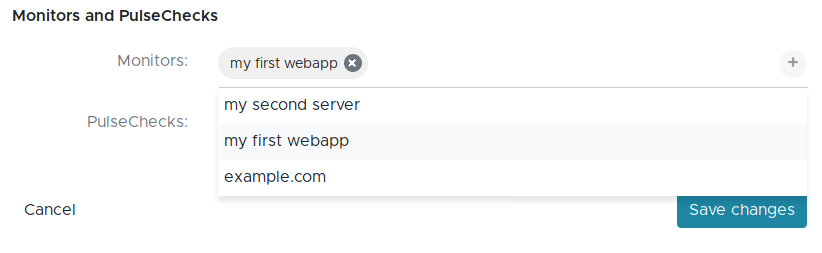
Then just add the Monitors and PulseChecks to the StatusPage for which you want to share their status.
Disclosure of sensitive information
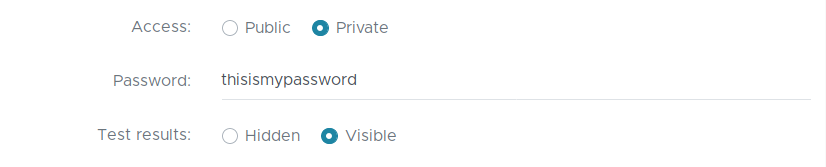
For each status page you can set if you want to show the status of individual tests. If this poses a security issue, then you should not show these. If you want to show the test results and these are only meant for specific users, you can set a password. For example for usage of a Status Page for an IT-department.
Determine the level of detail you want to share
How much information do you want to share on your status page? That depends on the intended audience.
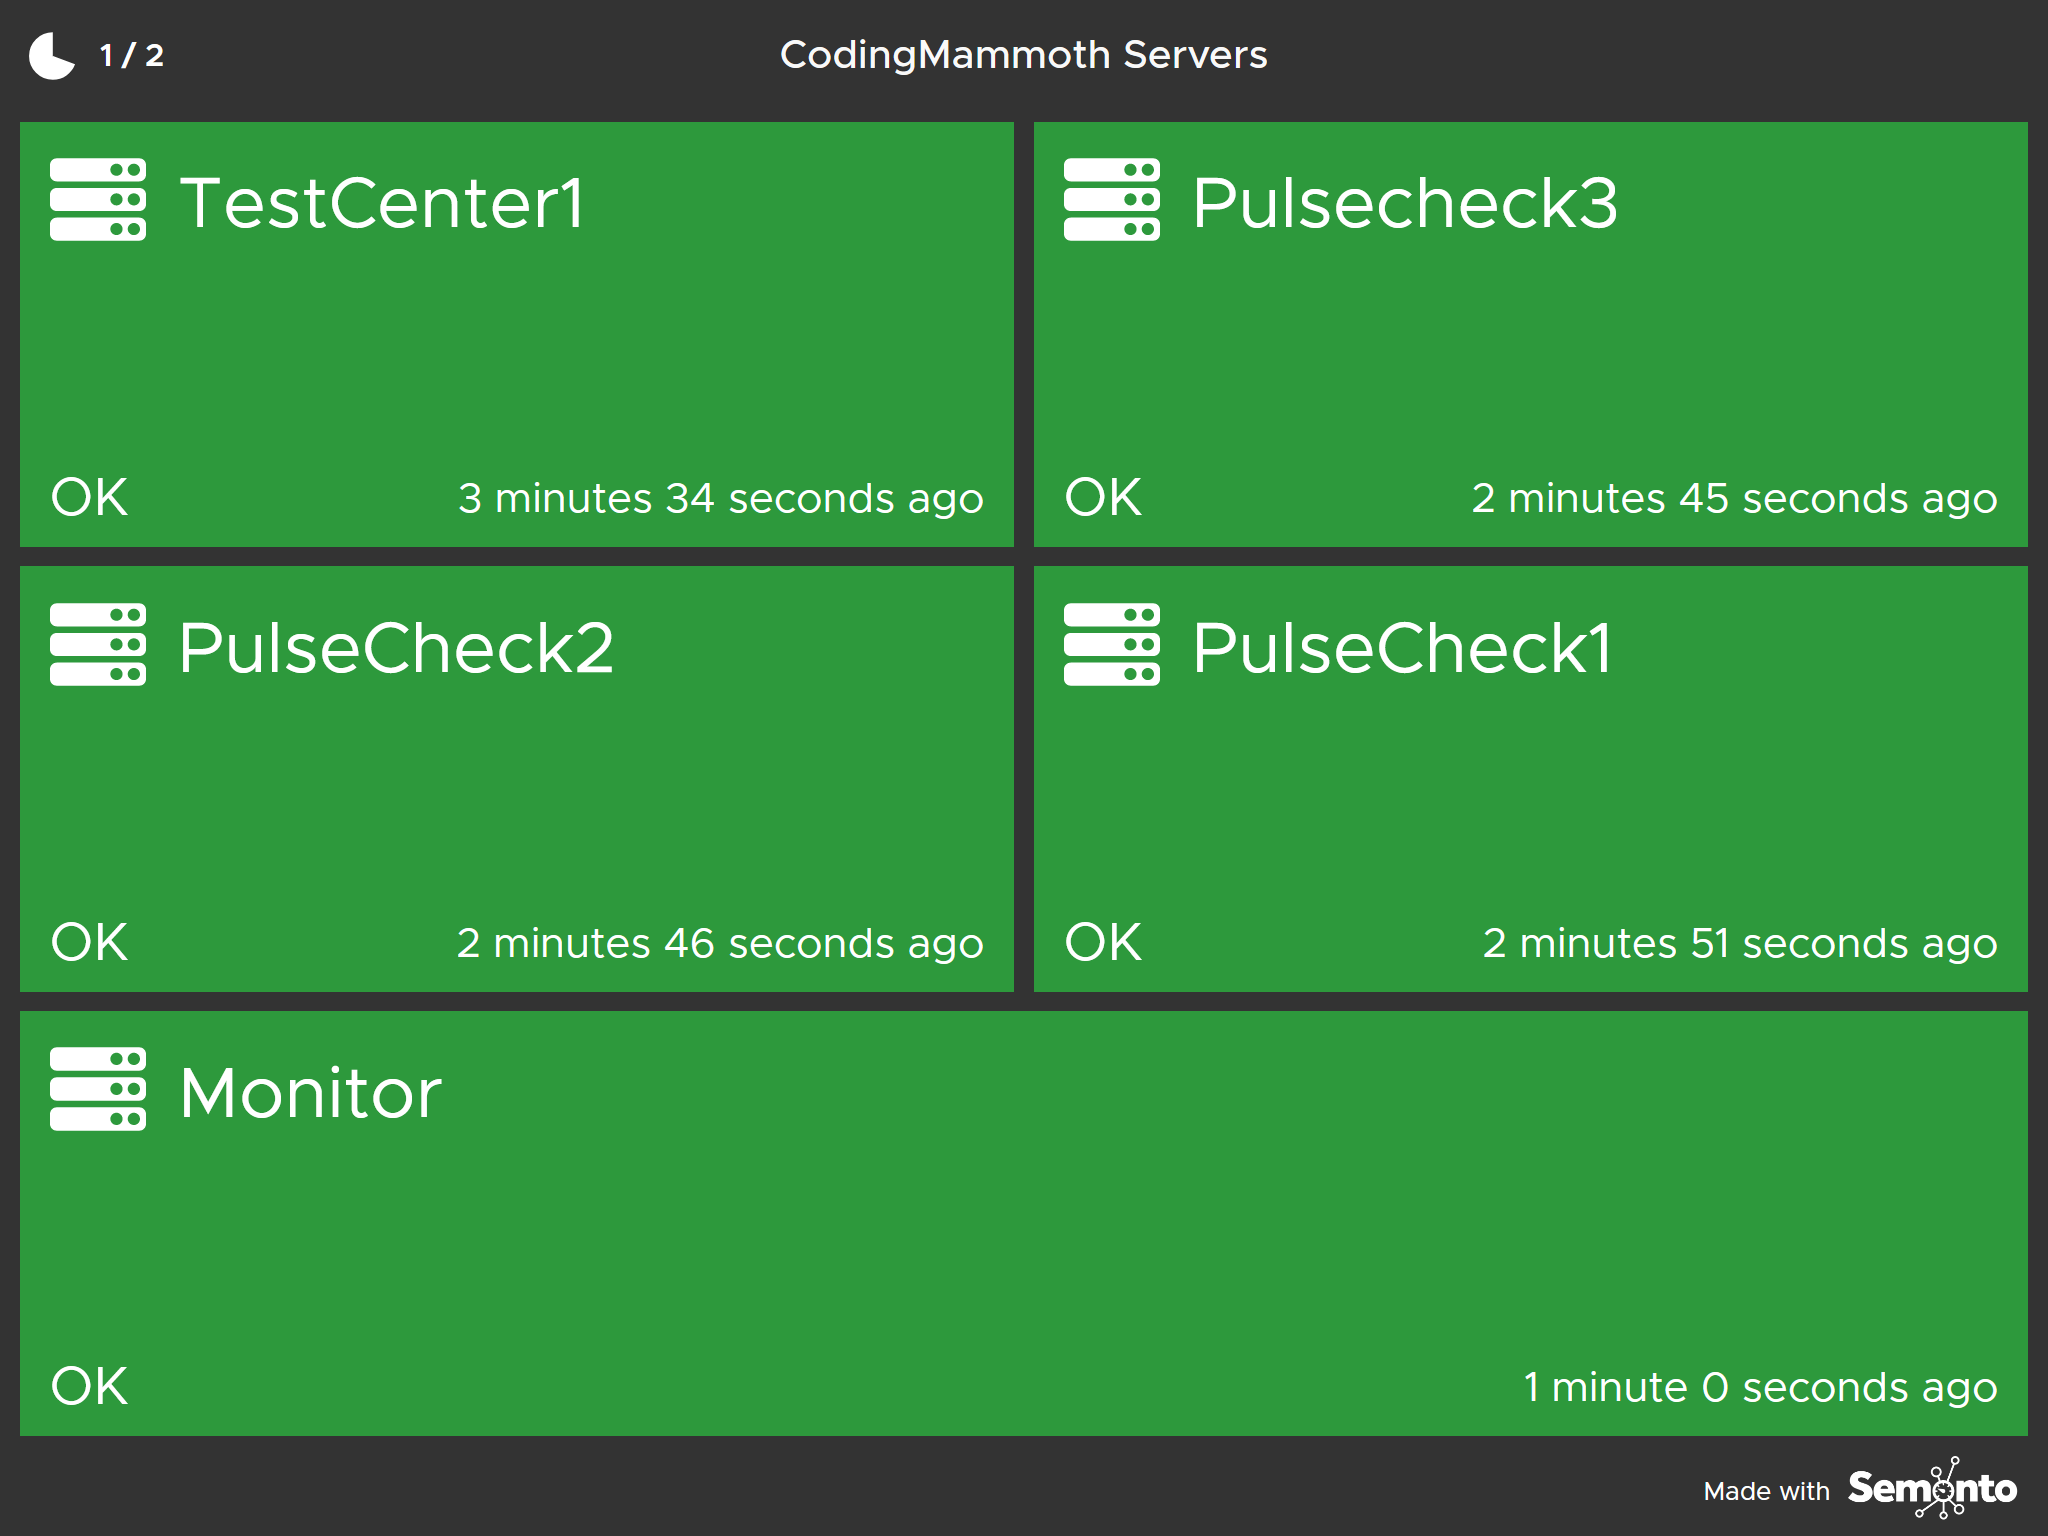
If you want to share the current status of your website, server or app publicly without disclosing any sensitive information, we recommend using the first option. This only shows the list of websites, servers, cron jobs, the current status and when the last test was performed.

The second option shows the status, the name of the tests that you have performed (for example HTTP Ping, SSL Checks, Port checks) and whether these tests failed or succeeded.
If you are going to use the page within the company to improve the communication between teams, you can select the third option. It allows the most detailed view and shows the current status, the performed tests and also the test values, such as the specific load of the servers, the response times and so on.
Display mode
A status page has a specific mode for displaying it continuously. You can use this view if you want to have real-time information at a glance at all times. For example, you can display your status page on a screen on the wall of the IT department.
Customize your status page with your logo and title
If you want your status page to include your company logo, you can simply upload it in the Branding section. First, enter your homepage so we can link the logo on your status page to your website. An ‘upload logo’ button will appear. Upload your logo as a jpg or png. Select ‘save changes’ and you are all done! Click on the URL of your status page in the general settings to get a preview. If you want to remove the logo, just click on the ‘remove logo’ button. You can also change the title of your status page in the general settings.
Related guides

QuickStart Beginner’s Guide to Semonto

How to Check Your Website for Broken Links With Semonto

How to Check Your Website for Mixed Content

How to monitor your TLS/SSL certificates

How to monitor server health with Semonto